Signed in as:
filler@godaddy.com
Signed in as:
filler@godaddy.com

Family: Solanaceae
Difficulty Level: Easy
Minimum Plants: 6-12
Isolation Distance: 5 meters (16 - 50 feet)

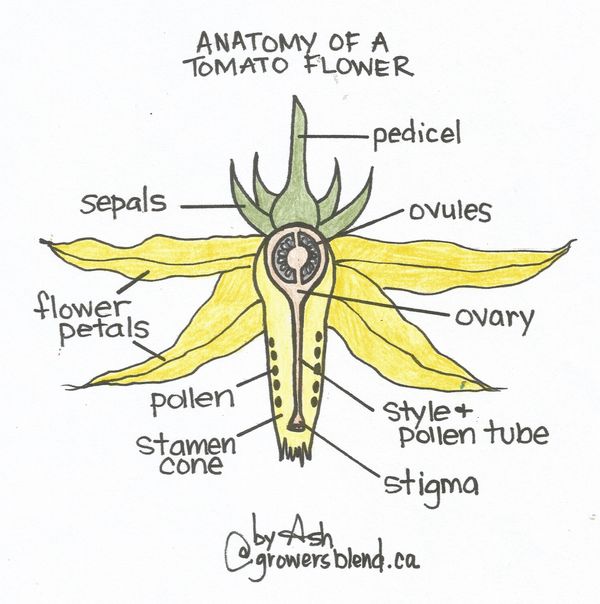
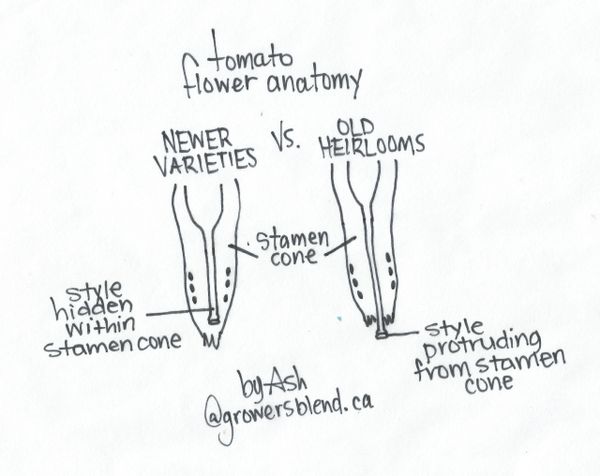
Tomato flowers are self-pollinating, so saving seeds for tomatoes is very easy! Just ensure you tap or shake the isolated tomato blooms to ensure pollination

If you only grow one variety of tomatoes in your garden, then no need to isolate blooms! If you are growing more than one variety and cannot isolate by 16-50 feet it is highly recommended to isolate blooms using a small organza bag to keep unwanted pollinators away from the blooms to avoid cross-pollination. These bags can be found for relatively cheap on Amazon or if you have a little bit of extra time you can sew up your own.
Plant lots of flowers between varieties, this decreases chances of cross-pollination as the bees will get distracted between visiting the different varieties of tomatoes in your garden, thus reducing the amount of pollen going between.
Be sure to tag the tomatoes that you isolated with a piece of string that will last all summer so in the fall you will know which tomatoes are going to be true-to-type

When it's time to harvest the isolated tomatoes choose the best looking isolated tomatoes from the best looking plants. The tomato seeds inside the tomato are coated in a jelly substance that inhibits the seeds from germinating inside the fruit. This will need to be removed to reduce mold growth and ensure high germination rates.
This is where fermentation comes in. Fermentation is a chemical process when all the jelly is dissolved and some pathogens and bacteria that may be present on the seeds is destroyed.
Try to save fruits from at least 6 different plants if possible. Do not use any fruits from diseased or unhealthy plants. This is key to saving healthy acclimatized seeds with strong genetics.
Grab those tomatoes and cut them in half. I find the easiest thing to do is just squeeze the tomato over top of a mason jar. You can use your clean fingers or spoon to scoop out any stuck seeds. (Eat the rest of the tomato!) The more juices and jelly you can get into the jar with the seeds will help speed up fermentation because you will be able to use less water. If the seeds are completely covered in liquid in the bottom of the jar you may not even need to add water. (Sometimes if too much water is added you run the risk of having your seeds germinate right in the water before they fermentation process can be completed) Use your judgement to ensure the liquid won't dry out over the next 3-5 days. If you notice the mixture getting low or thick, no worries just add a teeny bit of dechlorinated water to the fermentaing seeds
Cover the jar with cotton fabric or a paper towel. Something that can breath but stop unwanted fruit flies or debris from falling into the cup.
SIt the jar somewhere that is room temperature (20-23C is best) and you will remember to check on everyday.
After a couple of days you may notice the mixture is getting cloudy or developing a film or foul smell. This is totally normal. This is what you want! Allow the seeds to ferment for 3-5 days, you can usually see by looking at the bottom of the jar if the seeds have started to slip out of their jelly sacks. When this happens it is time to separate those lovely seeds from all that gunk.
Remove cover from jar. Add water to fill up to an inch or so from the top of the jar. Give this a little vigorous stir to get any seeds un-lodged from the jelly if they are stuck. Let this mixture sit for 10 or so minutes until you can see most of the seeds have settled. There will be some floating seeds, but these are not good seeds.
Gently and slowly pour off the floating seeds and gunk, ensuring that the viable seeds at the bottom are staying in the jar. Only pour out the bad seeds and floating mold/slime. You then pour the rest of the mixture, seeds and all, through a fine-mesh colander.
Rinse under warm water, gently running the seeds over the mesh (careful not to scrape the outer coating of the seed) until the refuse is gone and all you have left are clean tomato seeds!
Optional Step: Seeds can also be treated after fermentation with a very weak bleach and water solution (10% bleach 90% water) by adding the bleach and water solution to the seeds and agitating for up to 10 minutes. The seeds are then rinsed very well
Lay these out onto a wax-coated paper plate or into a plastic dish. Drying on paper seems to be more hassle as the seeds sometimes tend to stick to the paper and removing them can be time consuming. Put the dish/plate into a well-ventilated room. I like to stir and separate clumps as they dry every several hours for the first day to ensure all seeds dry evenly.
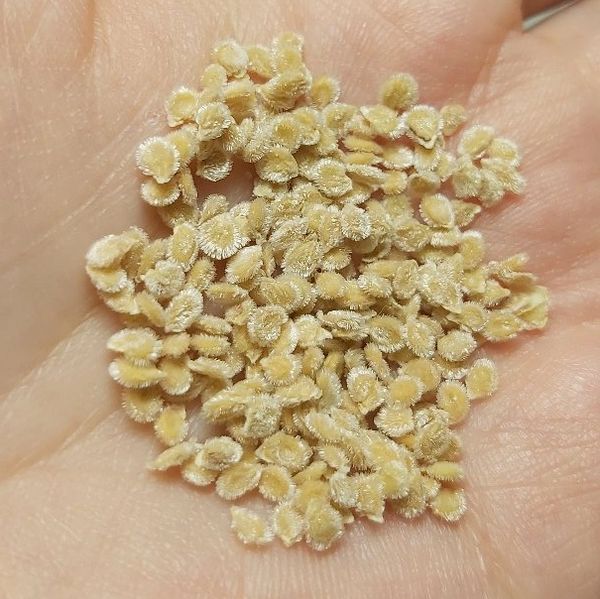
This drying process can take anywhere from one week to several, depending on the humidity in your environment.The great thing about living in a northern climate is that the winter months make an optimal seed-drying environment. Once the seeds are completely dry they can be stored in paper envelopes, containers, jars, etc. The best way to preserve tomato seeds is to place in an airtight glass container once they are completely dry.
Remember to write down what the variety is, the date they were harvested, original source of seeds, and any other important information
PO Box 10038, Morinville, Alberta T8R 0A4
Copyright © 2018-2026 Moonglow Gardens | Moonglow Seed Co. - All Rights Reserved | Rights to all photos & information on this site belong to Moonglow Seed Co.